cameljockey
Well-known member
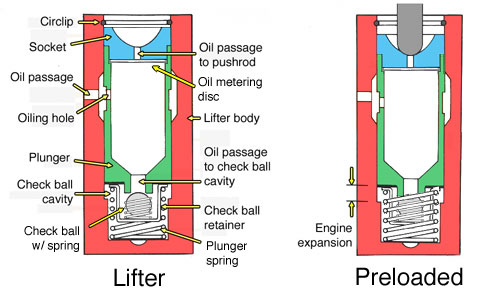
some updates
The push rods popping out from under the rockers cause some damage to the bodies of the rocker arms.
http://i700.photobucket.com/albums/ww7/ ... .38.13.jpg
Also upon attempting a reinstall I stripped threads out of the pedestal bolt hole and needed to install aTime-Sert.
http://i700.photobucket.com/albums/ww7/ ... .20.48.jpg
I may go ahead and drill out the rest of the pedestal holes and install Time-serts or even Keen-serts. Force of habit from my Aerospace Engineering job I don't like threading directly into aluminum. Not a Problem if you know what torque to use but woe is me I'm a dunce I forgot what that number was and the instructions I finally got from Yella Terra were woefully mum on that number.
But the instructions DID provide some insight on how to shim the rockers to get the right contact patch on the valve stem the current patches look like this which makes me think that that I truly truly botched the install and the shimming
http://i700.photobucket.com/albums/ww7/ ... .37.24.jpg
I'm thinking of sending the rockers off to be disassembled cleaned and polished to relieve any stress risers before installing them again and following the blue-ing and contact patch method for geting the shaft heght correct I also worry that the springs I selected from Comp Cams might have to High of an open seat pressure. this combined with my maladjustment of the rocker might be collapsing the lifters and allowing the push rods to jump out.
any thoughts on the weird contact patches?
Keep Sixn
Dan
 Did you get this figured out yet? On the contact patch I don't see to much problem they look like they are all very close to center of valve stems. If you place a straight edge across all the tops of the valve stems is there a height difference? Good luck