Four bolt Football converter manifold removal

xctasy

5K+
VIP
It's okay, I've consumed a few bottles of WD40 and CRC 5-5-6, and now I'm ready to go headlong!!!


What is the correct way to remove this. I'm doing a head swap on my B code 3.3 engined Mustang. After removal of the carb, vac lines and water lines, how is it best to remove the head with the exhast attached?

Can the exhast manifold be unbolted from the four bolt pallet converter, and the whole head and exhast removed?


Normally, I've remove the exhast manifold, but in this Fox, I'm copying the emissions pacakage and really would like it all intact.
How easy is this to do on a Fox body
 
Oh well, I decided to shove two 2" wood blocks under the 200 head to create a tall deck 250.

That means the converter is off the cross member, and I can unload those bolts, drop the 'verter and remove the head with its exhast header and EGR/AIR equipement in place.

Heaps of room for my size 11's on the Fox K member. :lol: :roll: 8)

http://s1215.photobucket.com/albums/cc5 ... I_6657.mp4


The head is lifted up nice and high, and I'm slowly removing the four double nutted bolts that hold the huge pellat conveter on.
 
I've had quite a lot of work regiging the EGR line...it was impossible to remove with the 1 1/8" open ender, even my 1 1/2 foot harbour shifter was no use, just dented my originally pristine line.

Have to remove the starter, the heat shield that goes around it and the light off converter, and the four studs to drop the converter. What's really cool is what a bad as low restriction design the header is, and I'm certain I can rework this bad boy to XU1 GTR Torana specs of exhast flow.

So I had to hack saw it off, installing provisional blank off plugs, and have the shop remake the stock one plus another to duplicate the XE Experimental 2V configuration shown on ebay a while back.

I'm using a high compression head from my 1967 Falcon 200 cid 500, which is a small 1.3" throttle bore C1UE 6049 head with 46 cc chambers and '170' and 1963 stamped on it. With a 41 thou Appco AP 630 head gasket multiple layer instead of the factory D7BE 6051D1 22 thou steel item. This replaces the stock big a$$ 1.75" inlet , 1.75" throttle bore E0 DE 6050 BB head for the time being. Compreesion ratio should go up from 8.54:1 to 9.81:1 by my calculations.

I expect a huge improvment in mileage now the blown head gasket is fixed. This replicates the work done by turbo2256b, viewtopic.php?f=1&t=67618&p=517855#p517855

My son and I have been setting up a P17 flow bench to test the cfm flow, and I'm experimenting with the triple carb version with a 21 inch conversion plate so I can use any carb or intake porting on my NCHO-6V intake.


Anyone here know how the removal of the 175 EGR valve will impact performance? I'm able to log a/f ratio via the oxygen sensor to check. All other stock emissions equipment is set up.
 
Ooops, the AIR line to the exhast manifold. Snap. I should have expected it on a 32 year old vehicle.

Meantime, I've cut it off and have sent it off to be remade in steel. AIR, EGR out of commision till I can get new parts.

At least the Coverter is in good shape. Hows this for low restriction exhast?


Its a compliant E1BE-5E211 GD8-0256 primary cat; both it and the O2 sensor are in okay condition.

Any ideas what I should do with the Air pump and line to the EGR so I can look after the converter till I get the two emissions devices working again.
 
Do you have to keep that hellish afterburner? It was, at best, terribly inefficient and at worst a fire hazard.

A modern cat would be far less restrictive and better at reducing emissions.
 
Yeah, but unless I can put it under the heat shield, a replacment cat is forbidedn in terms of emissions. And there don't seam to be any new ones.

Juries out for it's CFM flow; my son Ash and I will be putting it on my calibrated flow bench as soon as I can, and see just how restrictive it is.

My emissions maladies are


Butchered AIR line


Butchered EGR line.

Repair by JB Weld/Devcon meantime.

If anyone has any New Old Stock 1981-1983 Converters and AIR and EGR lines, I'd appreciate it.
 
The 1981 model year exhast manifold
The 1965 model year Australian manifold

The 4.5625" bolt spacing makes it impossible to have through bolts, you've got to do a few mods to fit it to the early head like I'm doing. This moning, I've got about six jobs to do in order to fit this baby up.

First is the fix up for the butchered AIR and EGR junctions. It grates me to have to do anything to diminsh emissions, but these parts are not even 40000 miles but break with even the most delicate surgery

The 12 mm socket and two BSPP blanking plugs are not needed as the EGR valve doesn't fit the pre emissions head.

Second job. On the normal old style manifold, the through bolts dont have to be treaded on each end, so the pesky fifth exhast port bolt can be picked up from any stock bolt combo. I got mine from those supplied with a crankshaft puller,


I trial built it in alloy stock, and then fashioned it up with a rat hole and flat file untill it would fit the head.

and loctite was used to hold the nut on for intitial torque up. On the 81 exhast, it wouldn't work 'cause the through bolt hits the huge mutha exhast casting. Bummer...

Third job is to C cut the fifth flange and allow the bolt to be mounted as a stud

The exhast pipe diameter difference makes a whole heap of problems when trying to quickly engineer a fast swap :(

Our Aussie engines got C4 options after the 250, and all later heads till 1976 had provision for the Allen bolted kickdown rod. My 1972 XA Falcon 250 engine hasn't got the pad drilled out, but its there. Unfortunately, this ARC9DE 6049-B head is 62 cc, and yields the same 8.5:1 cmpression as the 1981 US log head.

Fourth. Irrespective of how you organise an adaptor to fit the kickdown rod to the earlier head, you have to use Allen headed cap screws that bolt into the adaptor. After trying this combo, I realised I couln't fit the engine lifter and kickdown rod assy to the head as the bolts hit the bracket

Fifth is to down size the plate to mount the Holley 1946 1-BBL to the old 1908/1909 flange

Sixth is to add Devcon filler to taper the 1.75" thottle bore down to the tiny 1.33" of the 1963 head.
 
Just waiting for task number six, the Devcon transition from 1.75" Holley 1946 to the old 1.3" Holley 1909 base to dry...man what a load of extra stuff to do today.

I cc'd the head, another bummer, its 51.5 cc, not 46 cc, so my compression is less than half a point up at 8.9:1

With 41 thou gasket and 51.5 cc chambers
Piston to Deck Clearance = 0.019 in
Gasket Volume = 7.46 cc
Piston to Deck Volume = 3.31 cc
Piston Ring Land Volume = 1.18 cc
Cylinder Volume = 544.85 cc
Clearance Volume = 68.95 cc
COMPRESSION RATIO = 8.9

As far as I can tell, original was about 8.52:1 with 22 thou gasket and 58.5 cc chamber. :cry:

Never mind, onwards and upwards...wonder what it'll be like with 26% less air flow at 400 thou? According to the graph, intake flow for 1963 to 1968 is 101cfm verses 127 for the 1981 big log. We know going up air flow by 75% from a 67 rear wheel hp 1966 Mustang head to a 2V 250 head is worth up to 32 rear wheel hp, so perhaps a 15% drop in air flow is 6 hp lossed, and maybee the half ratio hike in compression is half the ratio percentage in power as a hike, about 1.5% or about 2 hp tops. We shall see, but speeding tickets won't be a problem...

http://classicinlines.com/images/flowbars2m.jpg
 
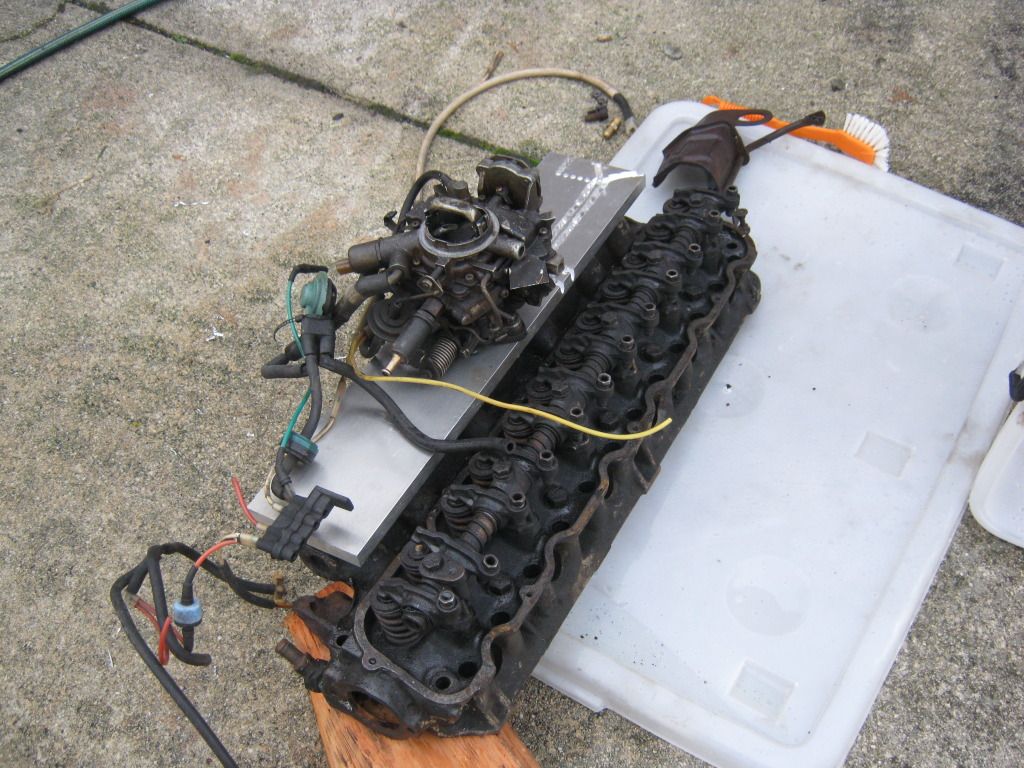
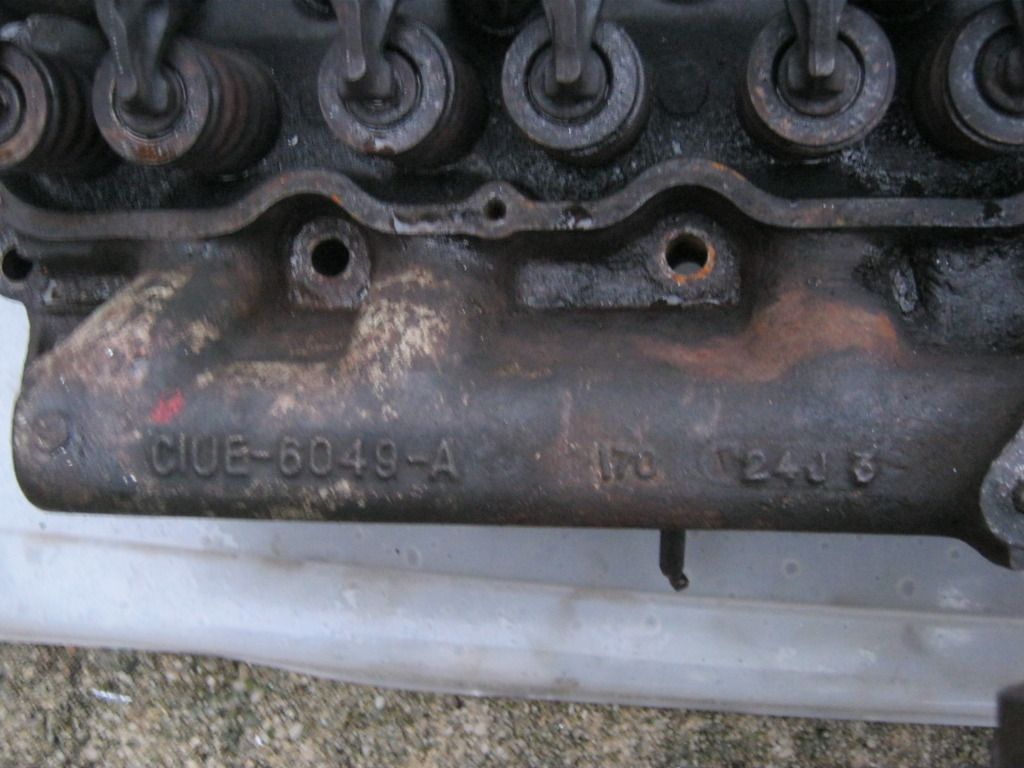
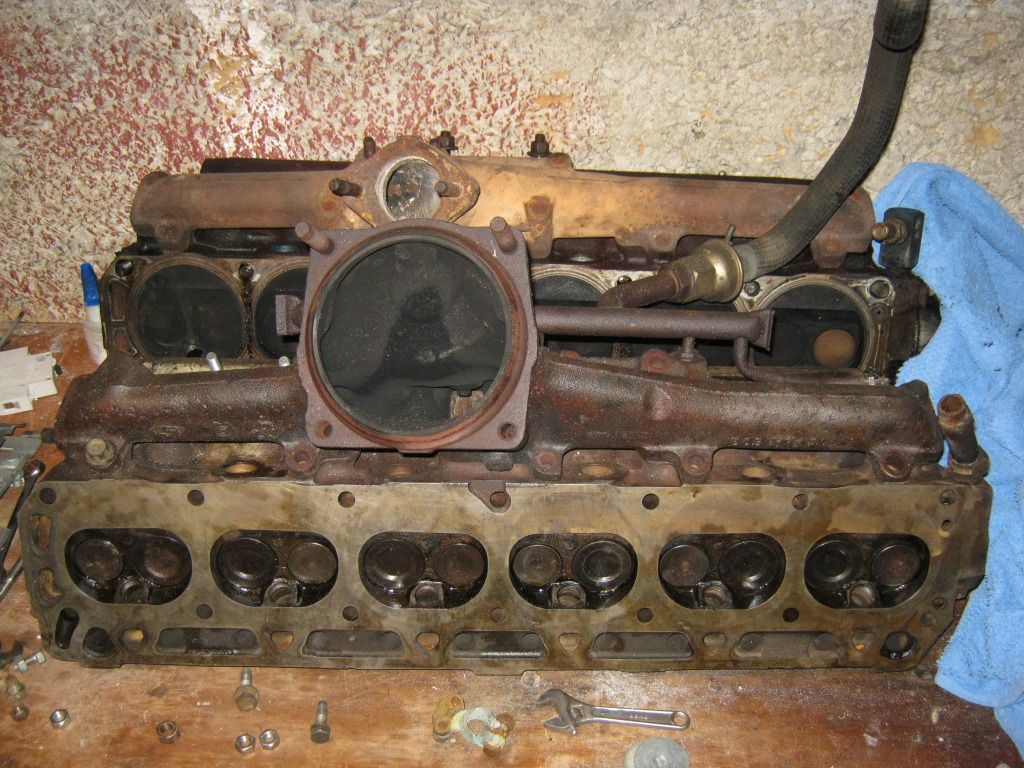
Task six is done...JB Weld in the anular part between the 1.75" Holley 1946 base and the 63 heads 1.3" Holley 1909 base. That little sucker consummed w-a-y too long, and the results are just okay, no work of art there. I had to grub screw pin and loctite a barbed/fluted steel PCV port line. And go through about three hours of cutting, bending and hacking the 12mm alloy tooling plate to suit. I liked doing my x-flow LPG adaptor back in 1996 and my 2001 lpg turbo IMPCO/IHI Cologne V6 conversion much more than this little effort. It seams the more complicated, the easier it is to perform. With this 1-bbl Holley, I was starting to think it was beneath me. But it has a smooth transition, and allows me to use any log head from 1960 to 1983. So I can wipe the worries of two week head swaps from my mind.

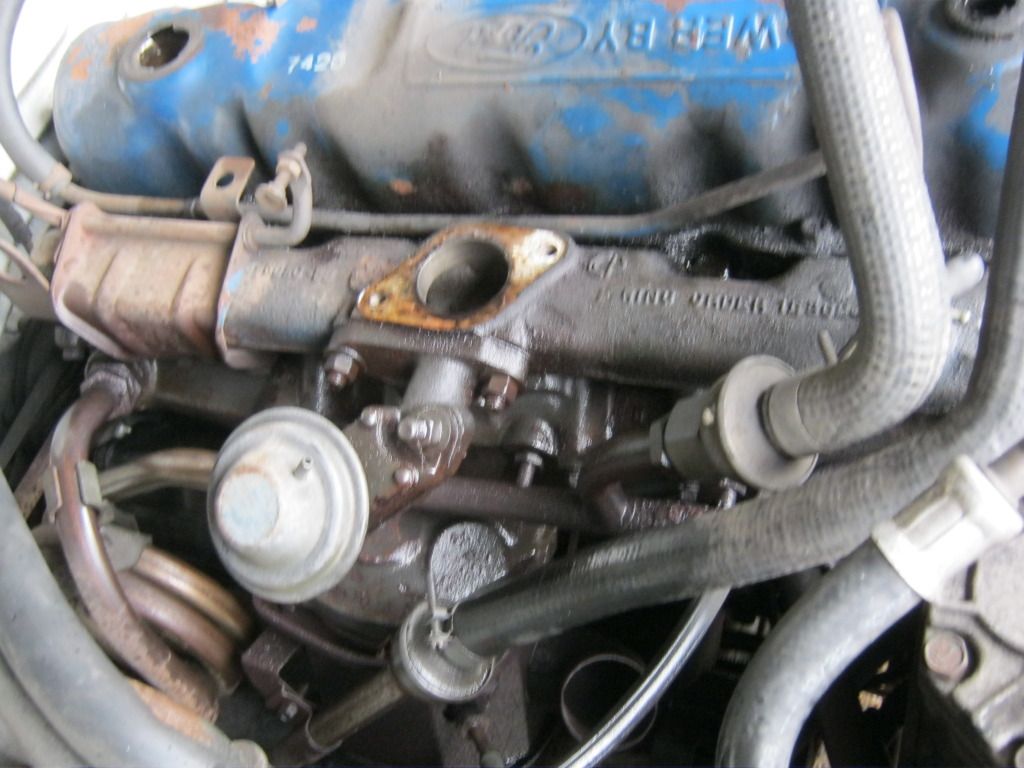
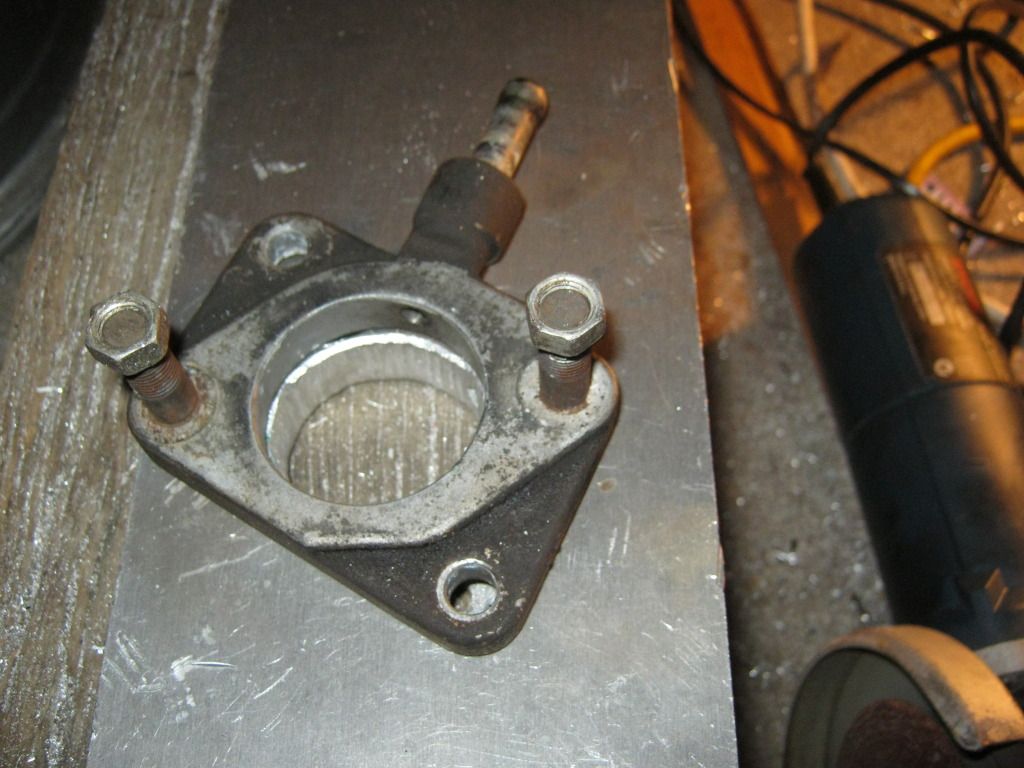
The adaptor was cut down to this size

Then JB Weld added to fair in the 225 thou annular ledge formed when the 1.75 carb meets the tiny 1.3" early round body head

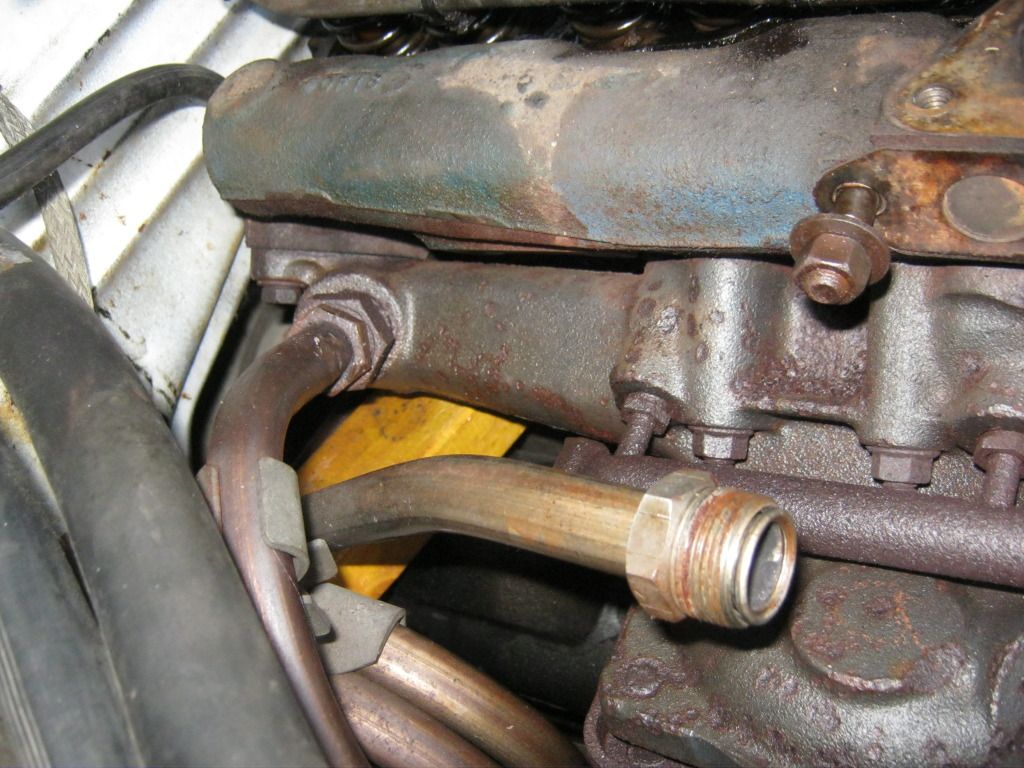
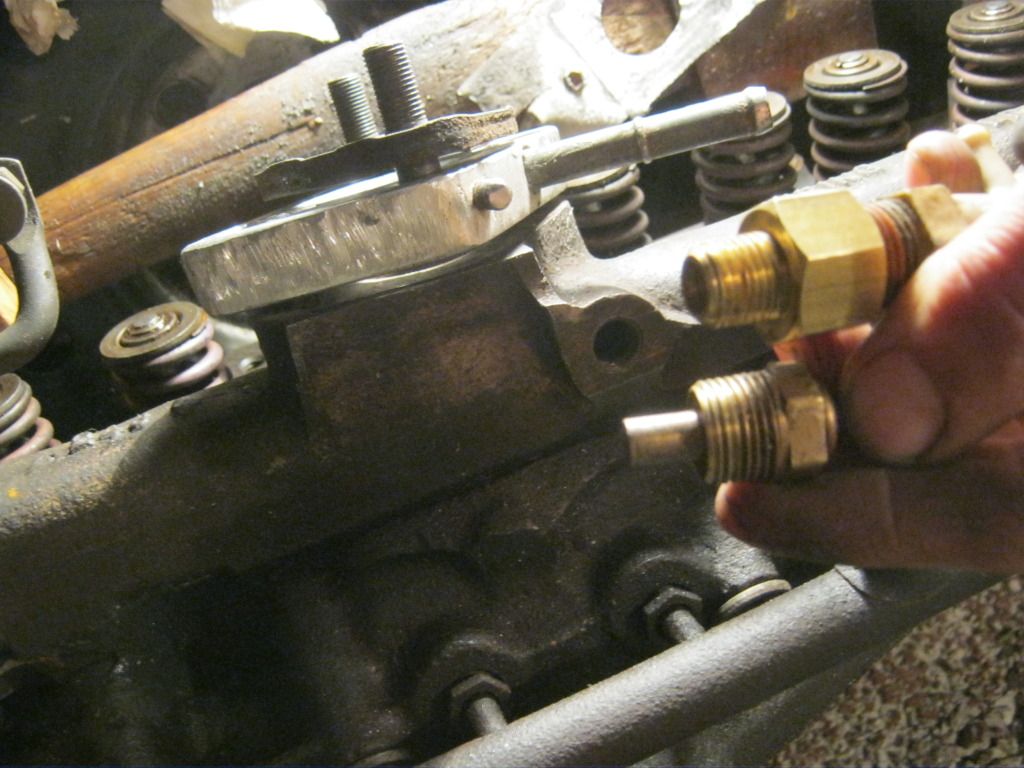
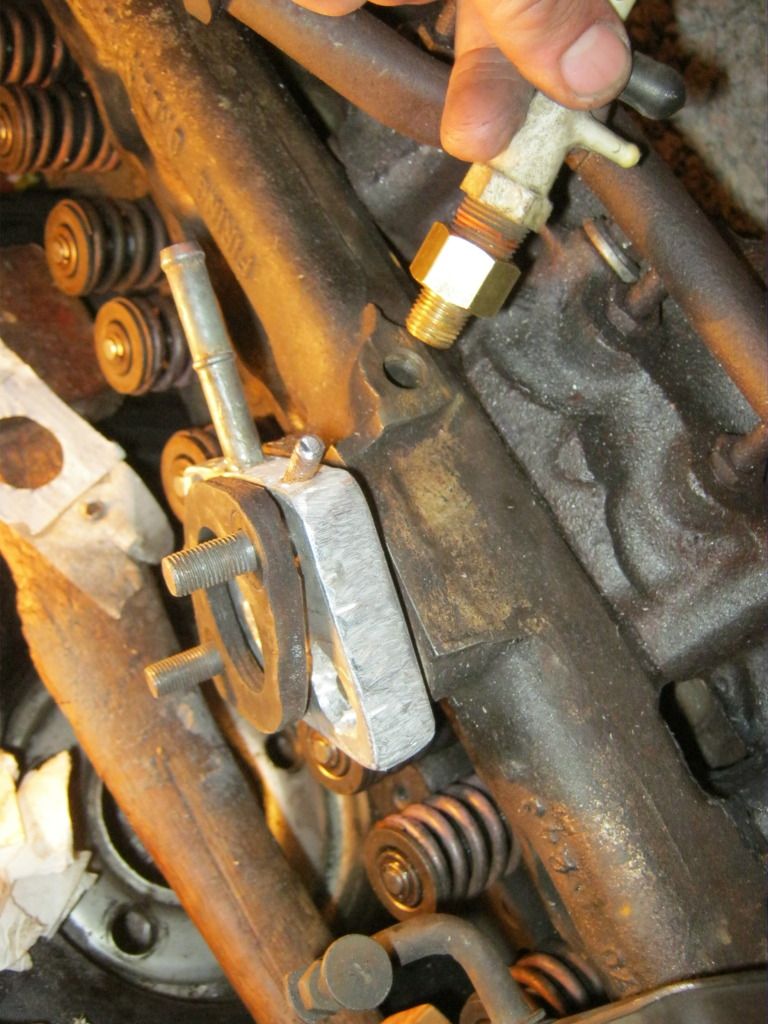
Task Seven was the 1/8" fittings used for the manifold vac for power brake booster. I used a 1984 Alloy Head vac tree 'tee', and the 1/8 to 1/4" transition piece, and a British 1982 Cortina V6 brake booster line. The 1963 head has no normal vac drilling on the front top of the log.

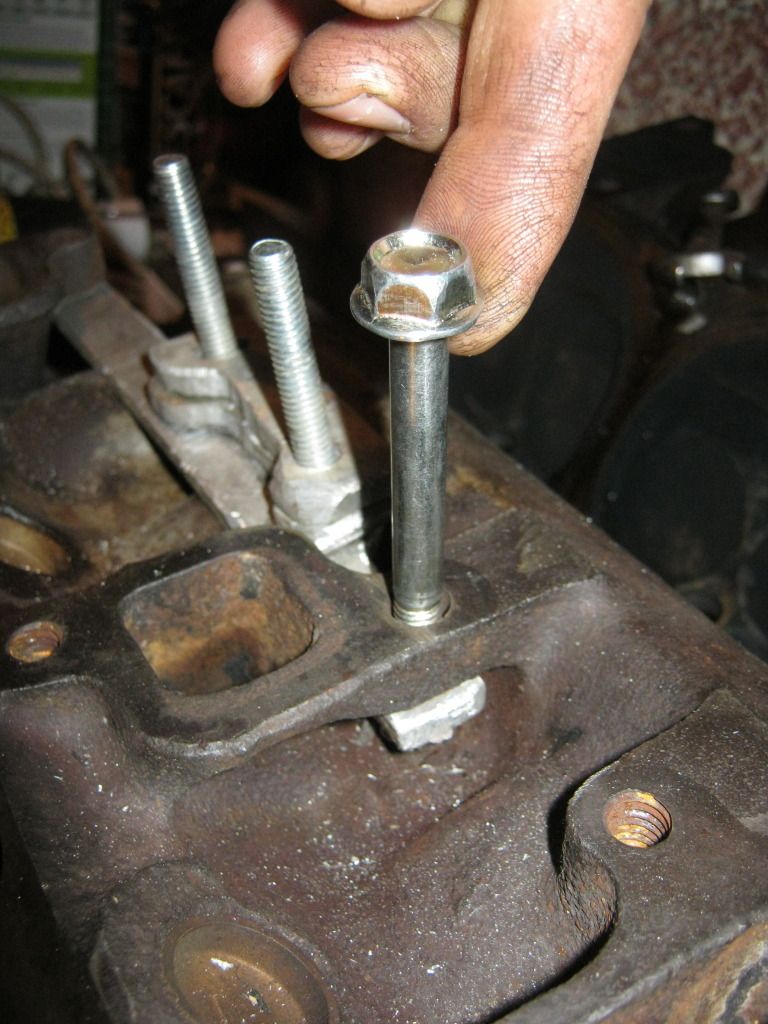
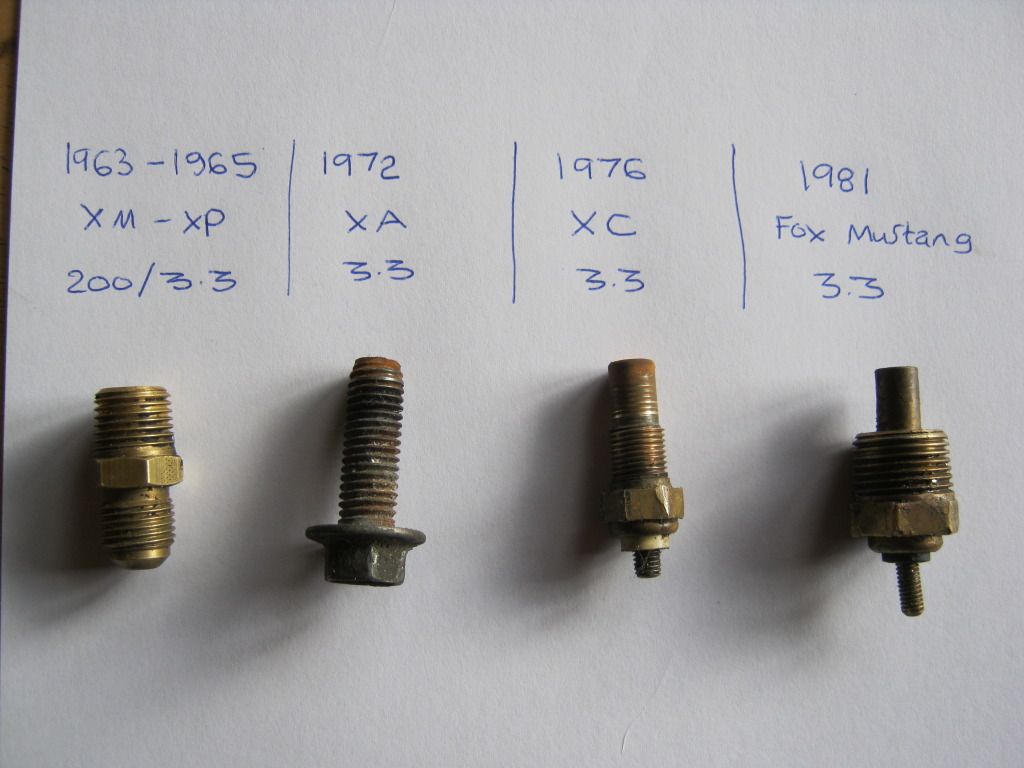
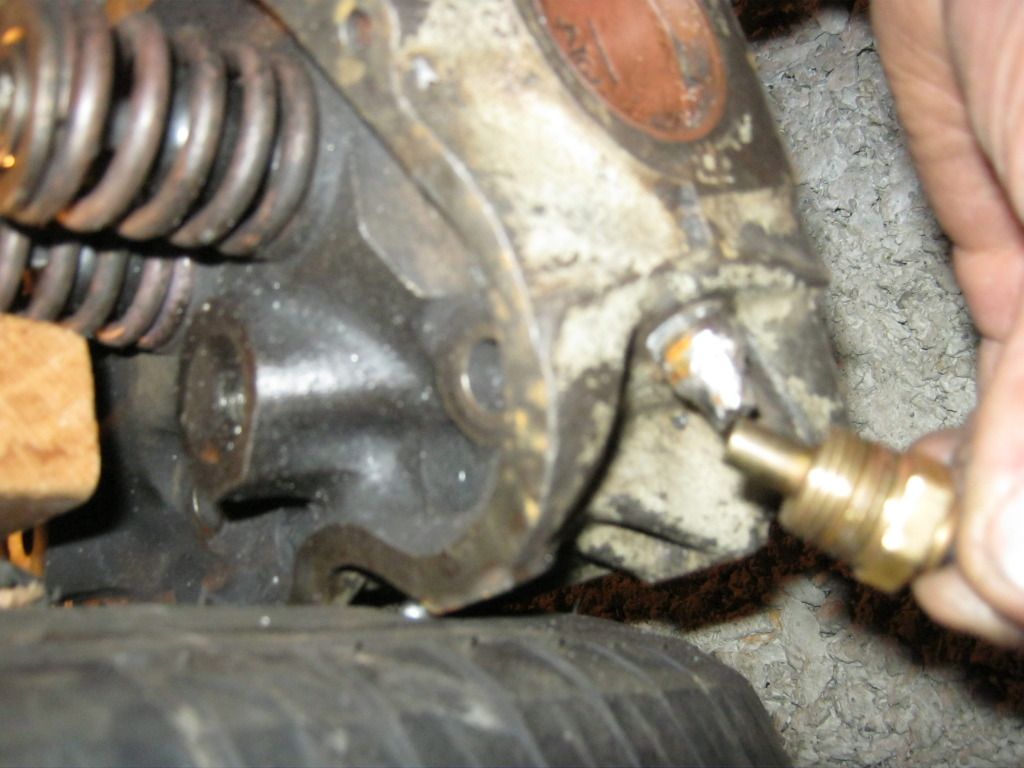
Task Eight, a similar fittings problem. The 1/8" BSP for the water temperature sensor. The 1981 3.3 water temp sensor is way too big to fit, so I've had to procure another type of 1/8 to 9/16" converter, one that has a big enough internal basin to measure water temperature properly. I looked at the 1960 to 1967 sensors for 144-170-200's ( your US XK200 which we called an XK, XL,XM, XP, and your US 1966 Falcon which we called an XR) and they are all standard US sizes coincident with those years. In 1968 with the XT , Aussie 188/221 logs ran a smaller sensor which remained from then till October 1980 on the 200 and 250 engines. Another similar( but not the same) was made for the Honda Alloy Head engines. All 68 to 92 engines therefore had much smaller 1/2" items.


I used the brake booster line plug to plug up the temperature gage hole


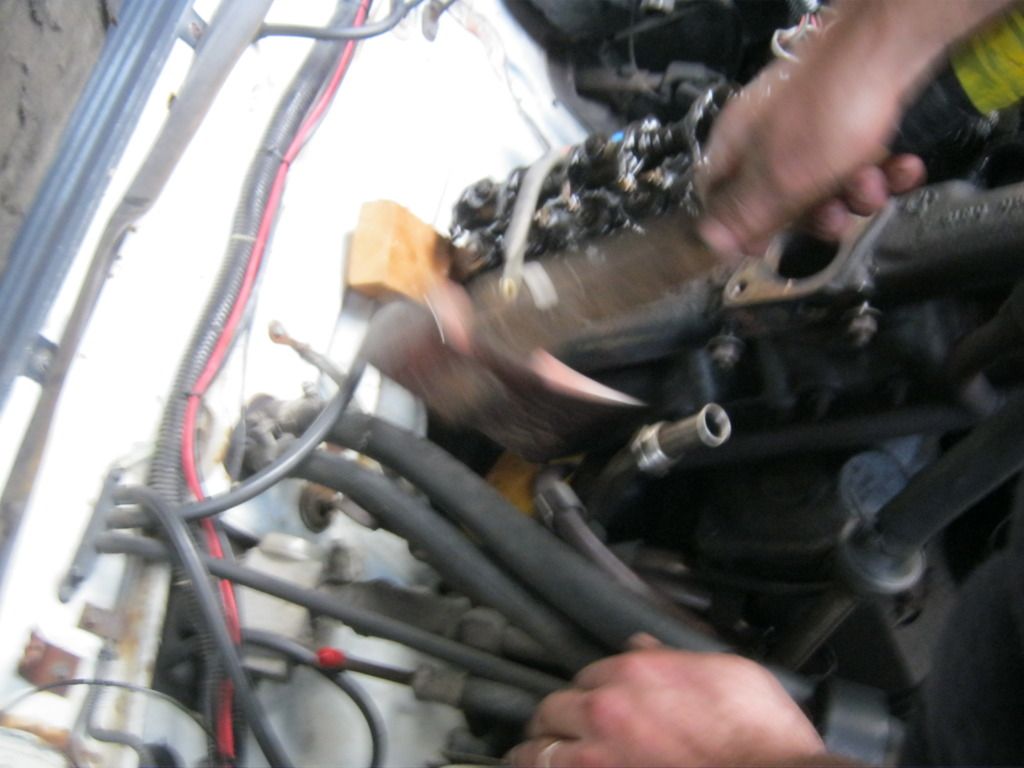
Task Nine is the adjustable 1963-1965 valve train used for hydraulic lifter engines under the stock 1981 rocker cover. Hope theres enough room there, or I'll have to make another adaptor to raise it up to clear the 12 adjusting nuts. :bang:

Well, there we have it. I can now fit any head log head on my Mustang, with the kickdown and carb and emissions and sensors all there. Exception is EGR, though it is able to be fitted easily even to a pre 1968 heads since the 1/8" vac port is where one on the 9/16 EGR bolts is, and another adaptor would have it nixed.

My next task is to calibrate the roughness gear I have mounted up, but I had to do the headgasket first, and needed a proper E1 head to gasflow on my P17 flowbench.

Other tasks for me going forward are:-

1) a special Cologne V6 adaptor plate and A4LDe to hook up (this puts the starter away from any tube header or turbo charger, and allows the tiny US C3 200 and Cologne 2.8/2.9/4.0 138 tooth bell housing to be fitted up to any 144/170/188/200/221/250 block, even in the early round body trans tunnel restricted Falcons
2) a special variantion of the Baldrick style m -series Supercharger kit to organise (this is M114, and needs EDIS)
3) and a low mount nested Lincs 200 style T03 60 turbo kit to fit the 4.5625" spacing foot ball exhast manifold
4) an NC6VHO adaptor to 4.9 F150 EFI unit to calibrate. It follows 73 Green Machine's awesome twin Impco LPG intake manifold on the Classic In-lines head.
5) 4" frame lift and 420 G Diamler Limosine IRS for my Explorer(same Dana 44 diff, same load rating as my 98 Explorer)

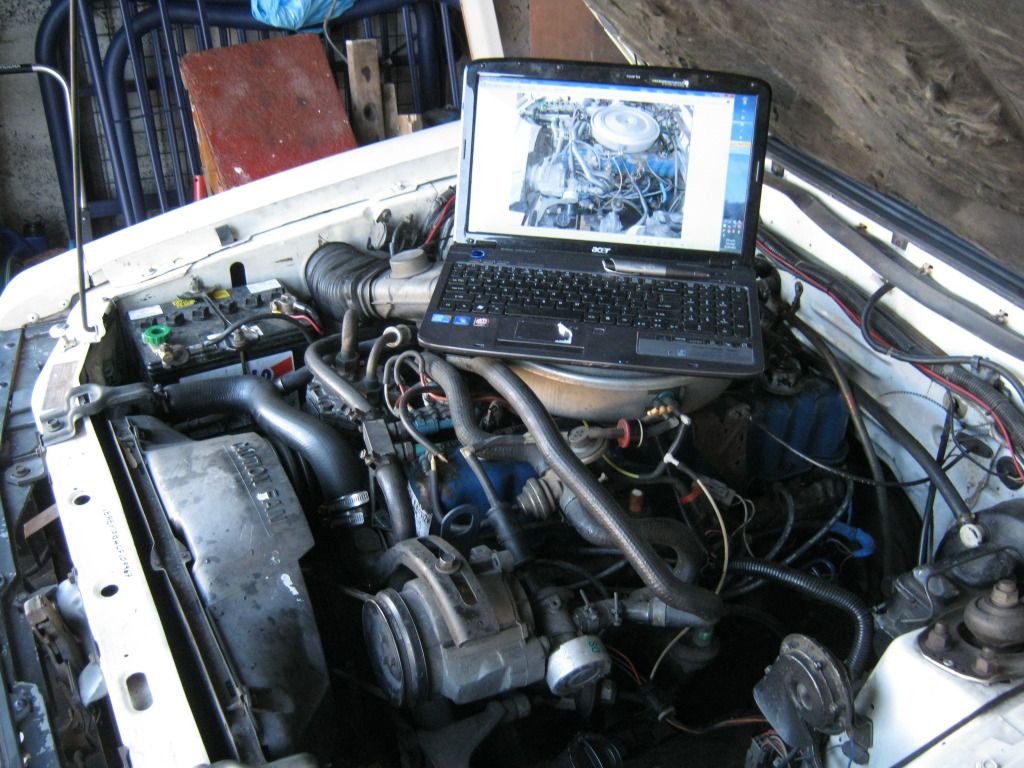
These four ingredients are in preporation to getting my FAZER6 engines up an running in the Mustang and Explorer. The Explorer is being used as my tow vehicle, and the Mustang as a certified running in vehcile.

I'll be back every now and then to show progress.
 
Well, she's all done, and it runs great.

I used a new 72 DA 250 Falcon upper radiator hose thermostat housing from my 1982 X-flow engine, but it was cracked, so got a 1972 250 item, which was the same part number (They never changed the Oz 250 housing from the first years of the 250 log or 2V, and it remained the same from the 21 years1971 to 1992.

Fitting up the emissions took a while. My son and I shared video duty, and we re-ran the many disassembly videos we took to check the position of the lines.


(We got it started, but I missed three lines, and it ran like a hairy goat only above 3000 rpm first restart, along with a massive leak in the four bolt exhast flange)

Overnight, I had to cut a new set of two thick 120 thou card intake adaptor gaskets, shave 120 thou off the securing bolts to the old 1.3" carb studs, then loctite and room temperature vulcanize a perfect seal on the carb. That done, an it idled at 500 rpm right off the bat. The smoking exhat flange only needed each four bolts to be turned about 1/6th, and I then went for a blat around the block at 2:15 am and got pulled up by the cops. Your cars smoking, they said. Yeah, head gasket and CRC officer, it'll bleed off in the next 15 minutes. So I told them it was my road roughness car, see the orange lights, and spent the next fifteen minutes driving past them as I quietly drove around Mornington, the Indian smoke signals getting less and less.

At 3 am, I took it for a hard blast at 62 mph along the motorway, and it was perfect. I then left it to idle for 10 minutes, and gunned it in the garage, and no smoke!

Happy, I went to sleep. In the morning, I discovered a gasoline line leak via the rubber line to the 1946 Holley, and while fixing that, I broke yet another bunch of emissions fittings, so had to cobble up a new set from X-flow Falcon 4.1 bits. Those pale beige two and three leg TVS trees have been raided and used ad nauseum.


Then we took it for a hard drive around my calibration loop, and found to my delight the kickdown was perfect, with full throttle upshifts out of 1st and second at a wopping 4800 rpm. It was 4200 before, so it must be pulling more vaccuum.

We did an oil change, new filter, and got a template for a new alloy spacer plate to stop the adjustable valve gear hitting the PCV and filler neck baffle plates. The RTV had held the rocker down so good, that I couldn't lift it even with two tire levers, so it sounds like a solid lifter prostreeter.

The performance is more than adequate, its as cool as a cucumber even when driven without mercy, and there is no smoke, nice emissions and it seams economical.
 
Buzy Boy :NZ: :checks: :wrench: . And to think,it all started with a Converter :P . And don't those Plastic Conecters & Rubber Vacume Hoses age well :roll: :?: ~OO6.
 
Back
Top