Hello everyone,
some of you may already know me — I’m finally getting around to starting my swap project. It definitely took long enough, especially considering how long I had to wait for the transmission. I originally bought it in March last year, and it only got delivered this February.
  There were some issues with the importer, which caused the delay.
I’ll try to document my build as thoroughly as possible — what I’m doing and how I’m doing it. I’m sure I’ll still have a few questions along the way, even though I’ve already read countless threads and watched pretty much every video I could find. I had plenty of time for that. I’d really appreciate any support or advice from you guys.
My car is a ’66 Mustang with a 200ci engine, currently running a ’78 block and a ’66 head. I’m planning to upgrade to a 250ci ’69 M-code head later on — I already have it, along with new valves and adjustable rocker arms.
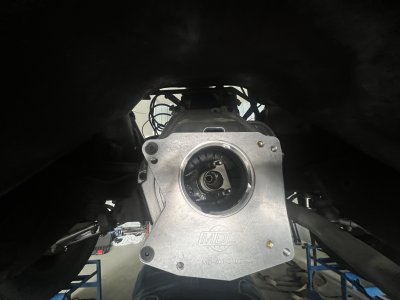
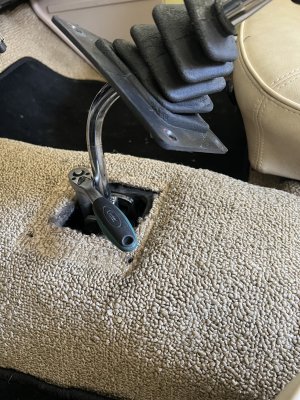
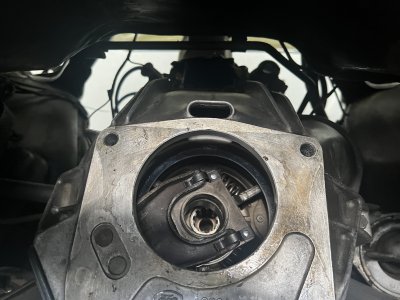
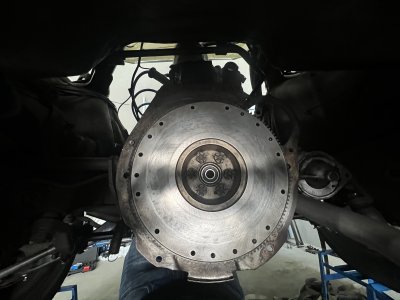
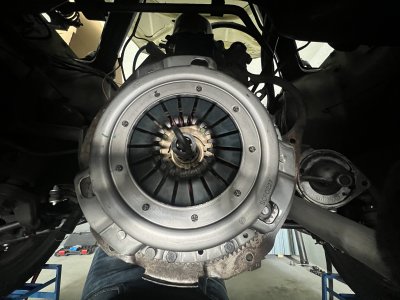
The current transmission is a 2.77, which has been rebuilt multiple times and kept failing. It’s finally coming out. Most recently, I barely managed to get the car back into the garage in second gear — the transmission is now stuck in second and won’t shift at all. That made things a bit more complicated since I couldn’t really drive the car anymore, not even out of the garage.
So I got myself a heavy-duty jack that can lift over 60 cm — an absolute beast — lifted the car, put ramps under the front wheels, and placed jack stands in the rear. On top of that, I secured the front with ratchet straps over the tires and ramps. I may not be the youngest anymore, but I’d still like to stick around for a while
  .
.
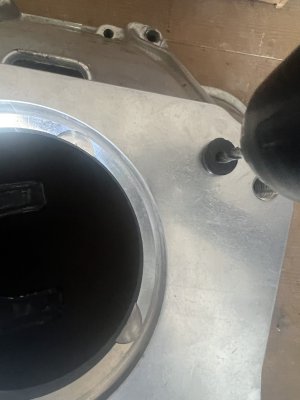
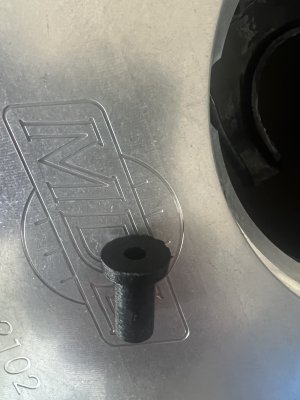
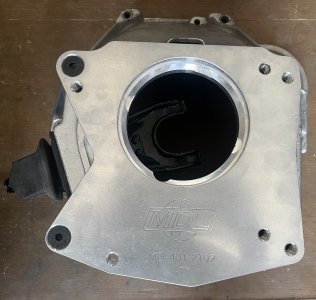
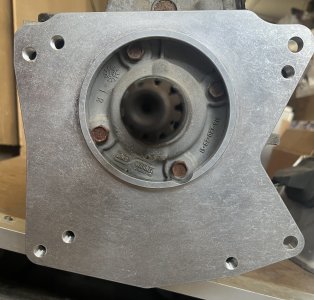
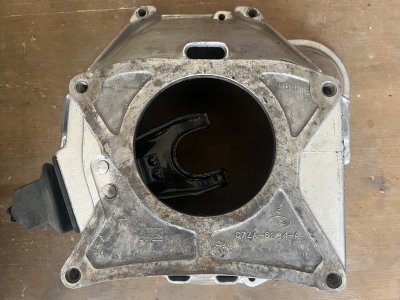
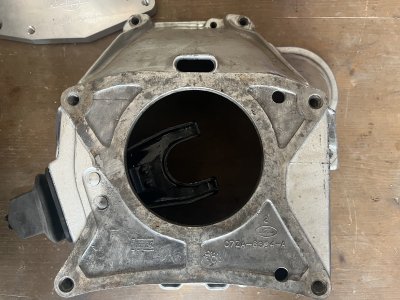
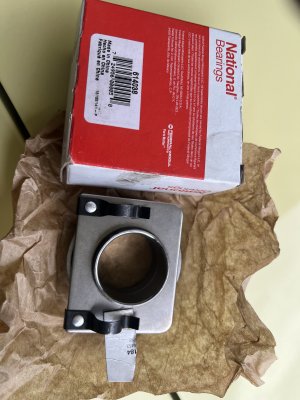
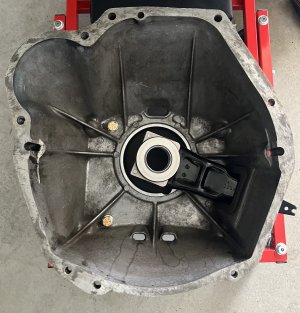
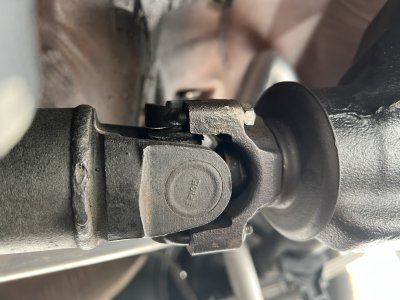
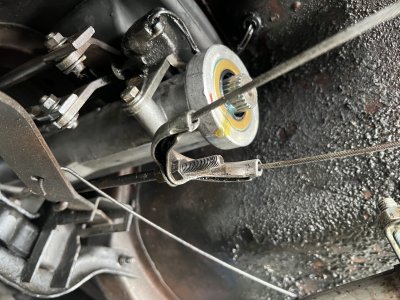
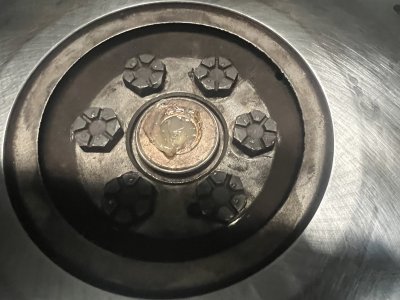
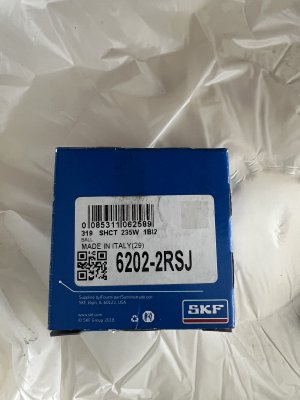
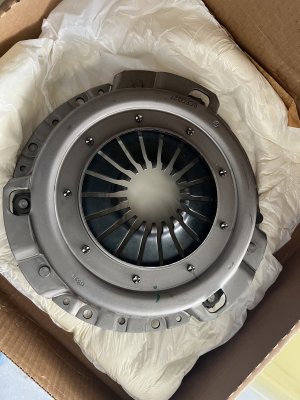
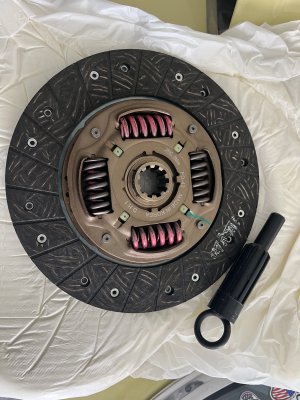
For the swap, I’m using a T5 from an ’87 Mustang, a clutch from a ’78 Fairmont, a pilot bearing from a diesel Explorer, a throwout bearing from a ’68 Mustang, and a bellhousing from a ’67 Mustang 6-cylinder. Since I have the small driveshaft with 1100 U-joints, I also needed a matching yoke, which I could only find at Modern Driveline. That’s why I ended up sourcing the other parts like the adapter from them as well.
Please take a seat — we’re about to get started with day one.
Cheers
Chris
some of you may already know me
— I’m finally getting around to starting my swap project. It definitely took long enough, especially considering how long I had to wait for the transmission. I originally bought it in March last year, and it only got delivered this February. There were some issues with the importer, which caused the delay.I’ll try to document my build as thoroughly as possible — what I’m doing and how I’m doing it. I’m sure I’ll still have a few questions along the way, even though I’ve already read countless threads and watched pretty much every video I could find. I had plenty of time for that
. I’d really appreciate any support or advice from you guys.My car is a ’66 Mustang with a 200ci engine, currently running a ’78 block and a ’66 head. I’m planning to upgrade to a 250ci ’69 M-code head later on — I already have it, along with new valves and adjustable rocker arms.
The current transmission is a 2.77, which has been rebuilt multiple times and kept failing. It’s finally coming out. Most recently, I barely managed to get the car back into the garage in second gear — the transmission is now stuck in second and won’t shift at all. That made things a bit more complicated since I couldn’t really drive the car anymore, not even out of the garage.
So I got myself a heavy-duty jack that can lift over 60 cm — an absolute beast
— lifted the car, put ramps under the front wheels, and placed jack stands in the rear. On top of that, I secured the front with ratchet straps over the tires and ramps. I may not be the youngest anymore, but I’d still like to stick around for a while .For the swap, I’m using a T5 from an ’87 Mustang, a clutch from a ’78 Fairmont, a pilot bearing from a diesel Explorer, a throwout bearing from a ’68 Mustang, and a bellhousing from a ’67 Mustang 6-cylinder. Since I have the small driveshaft with 1100 U-joints, I also needed a matching yoke, which I could only find at Modern Driveline. That’s why I ended up sourcing the other parts like the adapter from them as well.
Please take a seat — we’re about to get started with day one.
Cheers
Chris


 ). Of course, no grease on the contact surface itself.