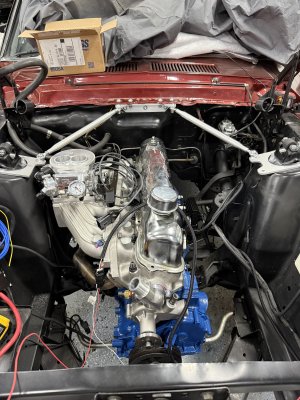
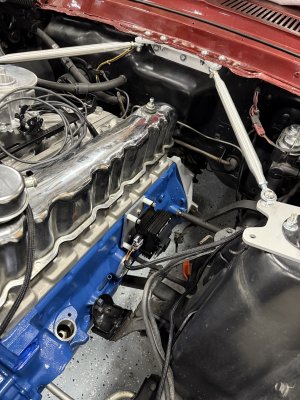
It's getting closer to go time! Got the T5 in and driveshaft shortened. Fuel pump is in tank, plumbed and wired. I have a few small things to take care of in the engine compartment, just waiting on some fittings. I'm running a catch can system for the PCV valve, with the vacuum side pulling from the intake manifold. Getting a little nervous on start up and break in though. I know a few of you guys have converted to the Sniper/Hyperspark system, but I'm not sure how many have done a full build with them. Here's my thoughts for the process.....Unhook the fuel relay for the pump and coil wire and crank engine over to verify 15* for timing set on the handheld. After verified, rehook relay and purge enough fuel through line before pressurizing system. Fingers crossed and fire off engine. Manually bring RPMs up to 2000-2500 for 20 to 30 minutes for break in. I've got a oil pressure gauge to monitor oil pressure. A couple other things I need advice on. Idle RPM's I was thinking 750-800? Also, what should the timing be set to? I've seen from around 24-30 degrees? Any advice for any of this would be greatly appreciated!
View attachment 27635