Hi Mike do you have the cam spacer ring (wedding ring), the correct dowel pin, and the cam thrust plate with its bolts? Good luck 

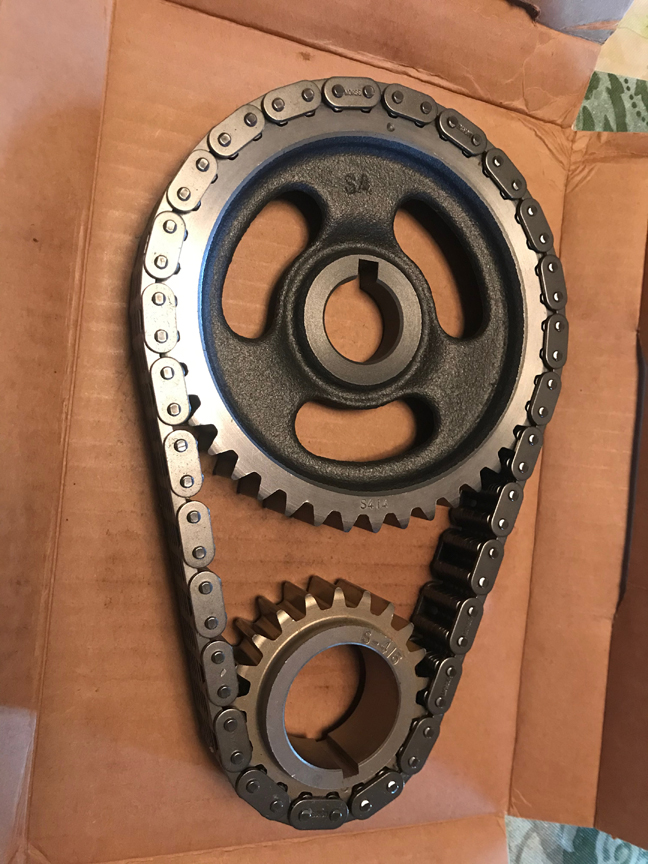
Econoline":31lnsp89 said:Can you give us a picture of the timing gears in that set?
bubba22349":31lnsp89 said:Hi Mike do you have the cam spacer ring (wedding ring), the correct dowel pin, and the cam thrust plate with its bolts? Good luck

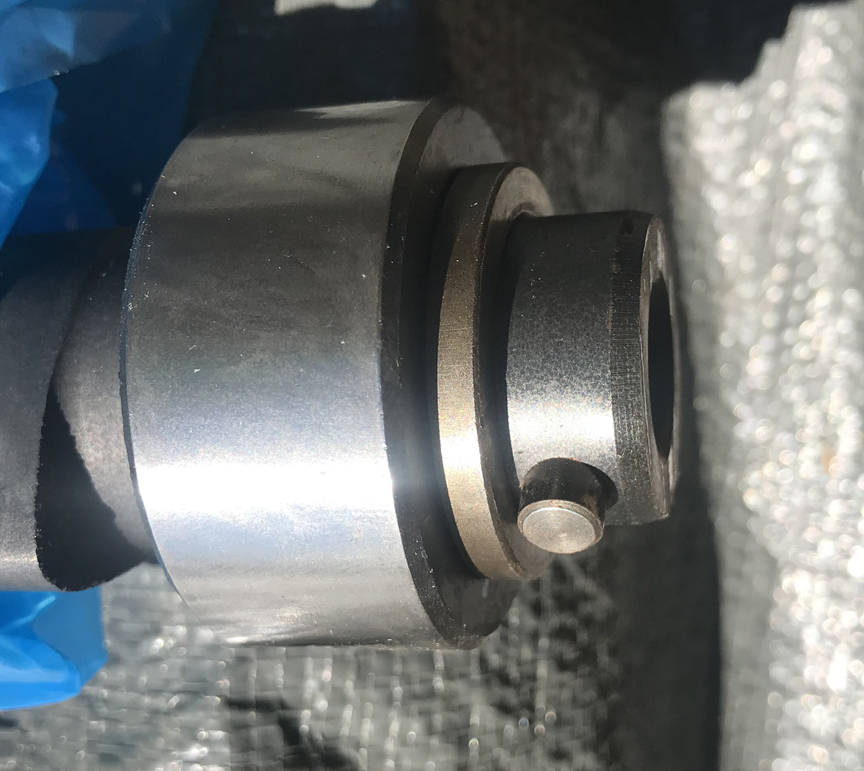
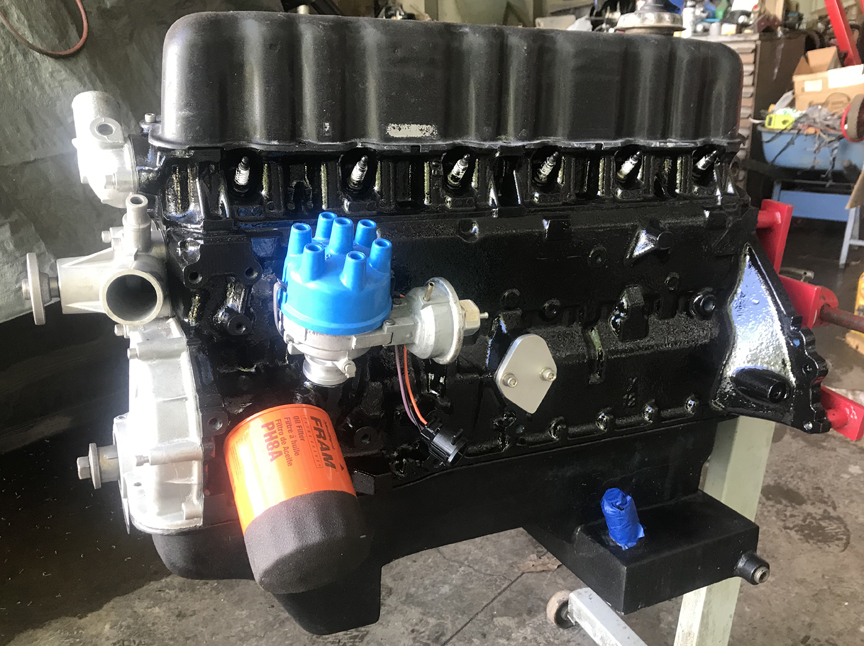
 Looks excellent! Yes on the cam spacer gets installed with the bevel against the cam and then the pin go in after. Did you check how far the threads go into the cam to verafy the cam bolt length? I think they are suppose to turn in with some resistance at the last for a bit of an interference fit. Your right there is no lock washers used inside an engine only the cam bolt with its special big thick flat washer. Put some fresh red locktite on the cam bolt before you torque it down! Yes right on the oil slinger goes in front of crank timing gear with the bevel flange facing towards the front oil seal then the crankshaft Dampners hub goes tight against it. Good luck
 bubba22349":1rtpbyuf said:Did you check how far the threads go into the cam to verafy the cam bolt length?
chad":lipjk0h6 said:if U would plez - a couple, 3 pic of the 3-intake-change you'll cast for the log (the 6 sides would B perfect, but anything...
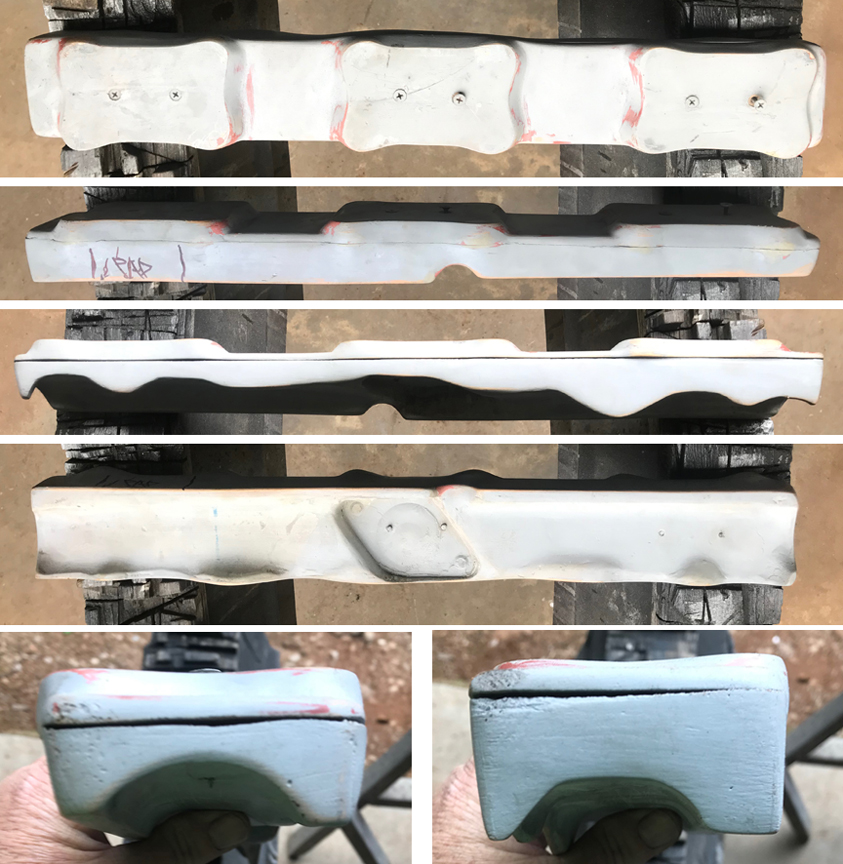
chad":2o8w34je said:U cast near 1/2 decade ago that way (I think it wuz U)...
chad":2o8w34je said:I meant after U burry that in sand & it burns away.
bubba22349":2o8w34je said:Autolite 45's (Copper) are going to be very close on heat range, they are a very good lower cost plug, if you want to spend a bit more and want them to last even longer than you could go with some Platinum's.

chad":2aupqxaf said:still like to see/read as U go.
chad":12er0mew said:I did not know POR15 hada heat proof for motors, looks amazing in flat on my transfer case...
Like to put the heat proof on my alu muffler to make it last. Know how hi the heat it will take
(its plastic, right)?

chad":12er0mew said:"...satin nickel is what I painted the timing cover and thermostat housing with..." I coated my alu w/clear (K2, that stuff U gotta punch the button on the bottom of the rattle can). Hope it lasts.
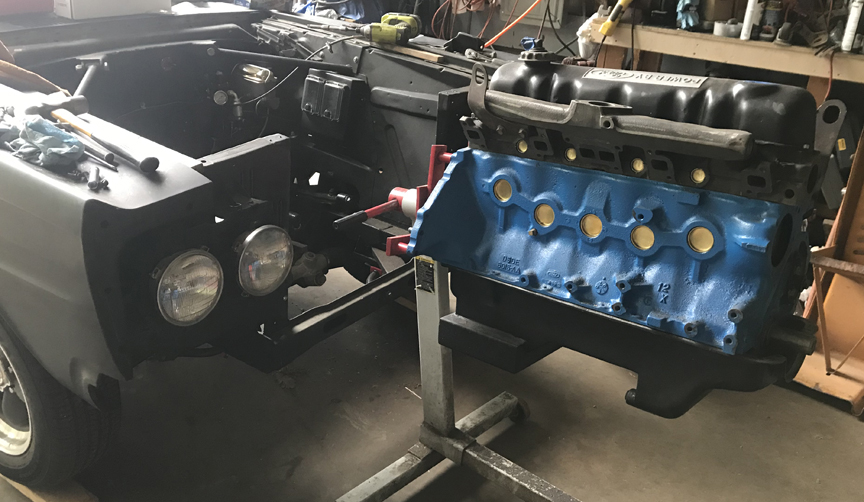
pmuller9":26h5zpi9 said:Where did the intake lobe center end up?
