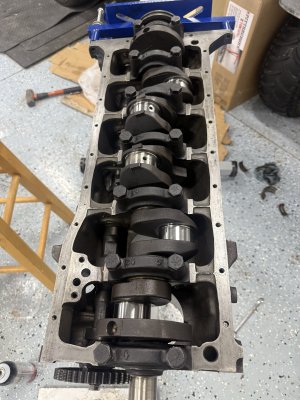
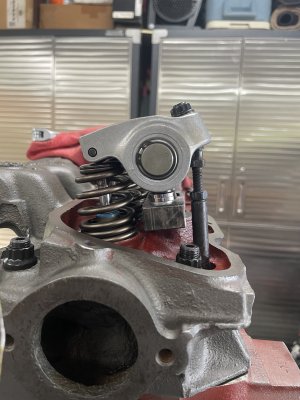
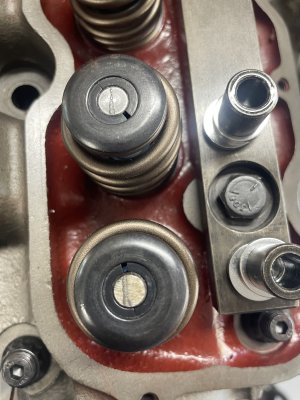
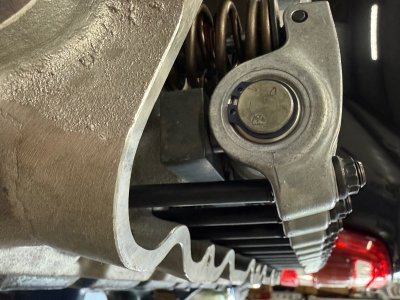
Hate to be the a-hole, but these are no such things as chrome-moly rings. Almost all rings start as cast iron ring. Cast iron rings are good general service rings. Chrome rings plate the wear face of the ring with chromium, a hard wear and scuff resistant material. Good in high load dusty conditions, but will wear the cylinder faster. A Moly ring generally has a a grove cut into the wear face, and molybdenum is sprayed into the groove. This moly groove is visible if you look closely, and retains oil for better scuff and wear resistance. Common use is high load/high speed operation where dust is not a significantfactor. They are also kinder to the cylinder walls than chrome or iron